
 Home
Home06 24 26
Veg Tan Leather by the Cut: What to Choose First
Choosing veg tan leather is easier when you start by considering the finished project. A wallet, belt, bag handle, tote panel, prototype, and small production run all ask different things from the material. The right cut gives you enough usable leather, room for testing, and a cleaner plan for hardware, finishing, and assembly before the first blade touches the bench.
Veg Tan Leather by the Cut: What to Choose Before You Start Building
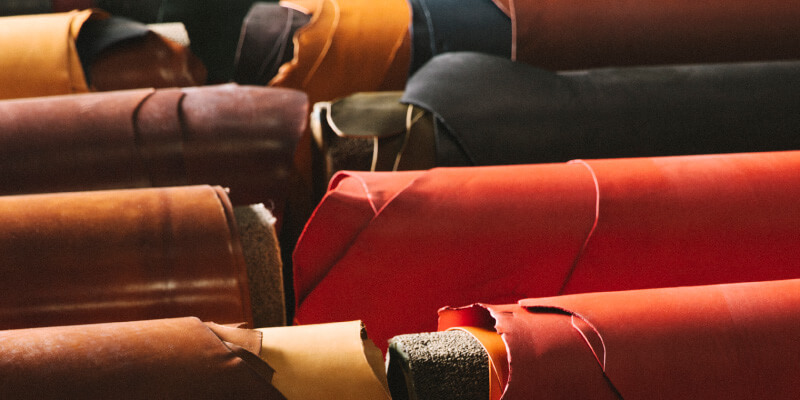
Veg tan leather is used for leather goods that benefit from structure, workability, edge finishing, tooling potential, and character that develops with use. You might use it for wallets, belts, straps, bags, collars, handles, tabs, patches, and small accessories. To use it well, choose the cut around the shape, size, and function of the parts you need to make.
In short: the leather cut should serve the build.
What Is Veg Tan Leather?
Veg tan leather, or vegetable-tanned leather, is leather tanned using natural tannins from plant-based materials such as tree bark. It is known for its firm structure, workability, ability to burnish, and the way it develops a patina over time.
Makers often choose veg tan leather for projects that need:
- Clean edges
- Defined structure
- Tooling or stamping
- Dyeing or finishing
- Long-term character
- A more traditional leathercraft feel
Buckleguy carries veg tan leather in several practical formats, including panels, straps, sides, shoulders, bellies, scrap, and kits. That variety lets makers choose leather based on the project instead of forcing every build to start from the same size cut.
Choose Veg Tan Leather Around the Build
Before comparing cuts, break the project into parts. Look at the largest panel, the longest strap, the areas that will carry tension, and any pieces you may want to test before committing.
A small card holder may only need a compact panel and a little extra room for edge finishing tests. A belt needs a long, clean strip. A tote bag needs broader layout space for panels, gussets, handles, and reinforcement pieces. A prototype may only need enough leather to test the pattern without committing to a larger piece.
This planning step turns the leather choice into a construction decision. That is where good projects like to begin.
Panels for Small Goods, Samples, and Testing
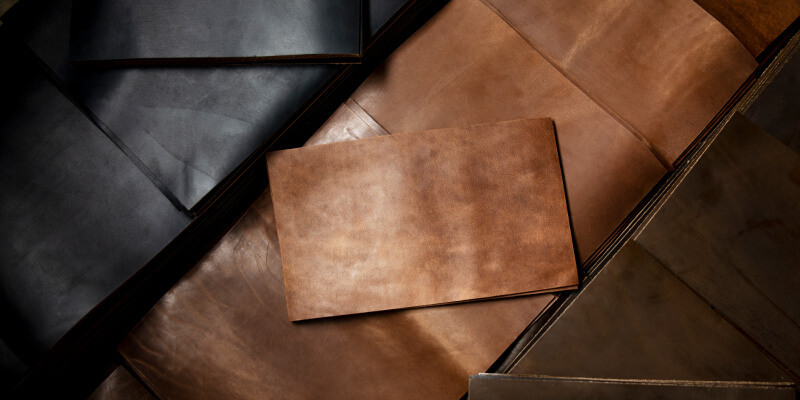
Leather panels are a practical choice for small leather goods because they keep the material manageable. Wallets, card holders, patches, key fobs, small tabs, and compact accessories often do not require a large cut of leather.
Panels are especially useful when you want to test how a leather behaves before buying more of it. You can check:
- Burnishing
- Dye response
- Edge paint or finishing
- Creasing
- Tooling
- Stitching
- Pattern adjustments
- Hardware placement
For small shops developing a new product, a panel can be more than a smaller purchase. It is a low-commitment way to learn how the material feels, cuts, finishes, and performs before turning it into a repeatable item.
Panels are also a good choice for hobby makers who want quality leather without filling the bench with more material than the project requires.
Straps for Belts, Handles, and Long Parts
Leather straps make sense when the project depends on long, narrow components. Belts, bag handles, shoulder straps, collars, leashes, and reinforcement strips all need clean length more than broad layout space.
Buying straps can reduce layout work because you are not trying to pull one long piece from a larger cut. That lets you focus on the details that make the part work well, such as:
- Hole placement
- Edge beveling
- Burnishing
- Stitching
- Buckle fit
- Rivet placement
- Keeper size
- Strap-end shape
For belts and handles, this can make the build more efficient. You start closer to the shape you need, then refine the part through cutting, punching, finishing, and hardware installation.
Straps are also helpful when you want consistent width across multiple pieces. That consistency matters on finished goods where the eye notices even small differences.
Sides and Shoulders for Bags and Larger Layouts
Sides and shoulders are better suited to projects that need more usable area. If you are making bags, larger accessories, or multiple matching components, a larger cut gives you more freedom to place patterns and plan around the natural shape of the leather.
This matters for pieces such as:
- Tote panels
- Bag fronts and backs
- Gussets
- Large pockets
- Shoulder pads
- Matching straps
- Reinforcements
- Small production runs
A larger cut is not only about having more leather. It gives you more planning space. That can be important when several parts need to feel visually connected in color, grain, weight, and finish.
For bag making, sides and shoulders can also help you work around areas of the hide that may be better suited to different parts of the build. Cleaner sections can be saved for visible panels, while smaller or less central areas can become tabs, keepers, or interior pieces.
Bellies and Scrap for Practice and Small Components
Bellies and scrap have a proper place in the workshop. They are useful for testing, practicing, and making small parts that do not require a large uninterrupted area.
Use bellies or scrap for:
- Practice cuts
- Rivet tests
- Dye tests
- Burnishing tests
- Tooling practice
- Pattern prototypes
- Tabs
- Keepers
- Small reinforcements
- Patch pieces
Scrap is not just leftover material. Used well, it can save better cuts from becoming test subjects. It also gives makers room to experiment with tools, finishes, and hardware before working on the final project.
A small test piece can answer questions that a product description cannot. Leather is a hands-on material. It likes to be consulted directly.
Plan Hardware Before Cutting
A good leather choice does not stop at the leather. Before cutting the pattern, think through how each part will attach, move, carry weight, and finish at the edges.
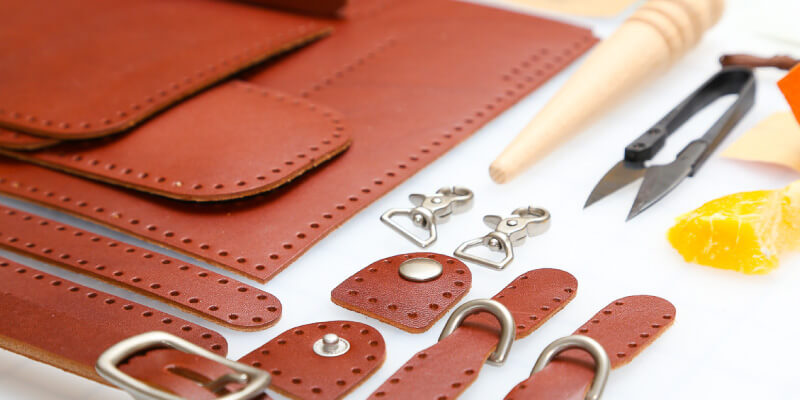
Hardware and leather should be planned together. A strap that will connect to a bolt snap needs the right width for that hardware. A handle tab that will use double cap rivets needs the right thickness and reinforcement. A bag panel that will carry a D-ring may need extra structure behind the attachment point.
Consider the full build:
- Leather thickness
- Temper
- Strap width
- Rivet length
- Buckle size
- Ring size
- Snap placement
- Edge finishing method
- Stitching layout
- Cutting tools and setters
Buckleguy manufactures solid brass hardware and supplies leathercraft materials, tools, and finishing supplies, which makes it easier to plan leather and hardware as one working system. The leather, construction hardware, and tools all need to cooperate once the project reaches the bench.
Match the Cut to the Project
The easiest way to choose a cut is to ask what the project needs most: small usable area, long clean length, broad layout room, or testing material.
Choose panels for wallets, card holders, patches, samples, finish tests, and compact accessories.
Choose straps for belts, handles, shoulder straps, collars, leashes, and long narrow components.
Choose sides or shoulders for bags, larger panels, matching components, and projects that need more layout flexibility.
Choose bellies or scrap for practice, prototypes, tabs, keepers, reinforcements, and testing hardware placement.
Choose larger cuts when you are planning repeatable products, building inventory, or trying to keep material choices consistent across multiple pieces.
A Quick Planning Checklist
Before ordering veg tan leather, run through these questions:
- What is the finished item?
- What is the largest pattern piece?
- Do you need long straps or broad panels?
- Will the project need matching components?
- Do you need extra material for testing?
- What hardware will be attached?
- Will the leather need to be dyed, burnished, stamped, or finished?
- Is this a one-off project, a prototype, or repeatable production?
Those questions help narrow the cut before you start comparing colors, weights, and tannages. The goal is not just to buy leather. The goal is to buy the right leather for the work ahead.
Frequently Asked Questions
What cut of veg tan leather should I buy for small leather goods?
Leather panels are often the most practical starting point for small leather goods. They are manageable for wallets, card holders, patches, key fobs, and test pieces, while still giving you room to evaluate the material before moving into a larger cut.
Are leather straps better than cutting straps from a side?
Leather straps are a good choice when the project is built around long, narrow parts such as belts, handles, collars, or shoulder straps. Cutting from a side can make sense if you also need panels and smaller matching components from the same larger piece.
Should I choose a side or shoulder for bag making?
For bag making, sides and shoulders both offer more layout room than smaller cuts. Choose based on the size of your panels, the number of related parts, and how much flexibility you need for pattern placement.
What are bellies and scrap useful for?
Bellies and scrap are useful for practice pieces, prototypes, finish tests, tabs, keepers, reinforcements, and hardware testing. They are especially helpful when you want to test a tool, rivet, dye, or edge finish before using the main project leather.
What else should I plan before starting a veg tan leather project?
Plan the hardware, tools, and finishing method before cutting. Think through attachment points, strap width, edge treatment, stitching, rivet placement, and setters while you are still choosing materials.
Explore Veg Tan Leather and Build Supplies
A cleaner build starts with a clearer material choice. Choose the cut that fits the project, then plan the hardware, tools, and finishing supplies around how the finished piece will actually be used.
Explore Buckleguy’s veg tan leather by cut at buckleguy.com, then pair your selection with the hardware, bag making supplies, and leatherworking tools that help the project come together cleanly.